Step 1: Gather your ingredients
While you don’t need to follow a specific recipe when you make pan-fried chicken (and why would you when you can customize your chicken to your tastes?), certain steps need to be followed and certain ingredients that need to be used to ensure that your chicken comes out correctly.
For just about any fried chicken recipe, you will need the following:
- Chicken – trimmed of excess fat and cut into small sections. (D’Artagnan’s Whole USDA Certified-Organic Free-Range Chicken is a flavorful and naturally low-fat choice for delicious home-made pan-fried chicken)
- All-purpose flour
- The seasonings of your choice (salt, pepper, oregano, parsley, garlic, thyme, cayenne, paprika are all good bets)
- Eggs
- Your choice of either bread crumbs (seasoned or unseasoned), panko or crushed crackers.
- Oil – anything with a high “smoke point” (i.e. that doesn’t break down at high temperatures) will work. Safe bets include peanut oil, lard, and canola oil.
- A soaking agent (optional) – usually buttermilk or brine.
Step 2: Line Up Bowls
Take out three large, shallow bowls and place them in a row on your countertop or table. In the first bowl put your flour, salt, and spices. In the second bowl, put three or four heavily beaten raw eggs and in the third bowl put your breadcrumbs (you can add additional salt and spices to your breadcrumbs as well). Place a large plate at the end of the line for you to put your prepared chicken on and have some tongs and forks handy to aid you in the “dipping process.”
Step 3: Start dredging
Dip your chicken first in the flour mixture, then into the beaten eggs (using your tongs as not to get your fingers messy), and finally in the bread crumbs, making sure to coat the chicken thoroughly with each ingredient. Note: If you have soaked your chicken in buttermilk or brine beforehand, allow any excess liquid to drip off before you start dipping. Repeat this process until all of your chicken is properly coated.
Step 4: Let the coating set
For your coating to properly adhere to your chicken, you should let it set in the refrigerator for fifteen to twenty minutes. While your chicken is sitting, clean up your workspace; throw away all of the excess flour, egg, and breadcrumbs, and clean your tongs. Then get out another large plate and line the bottom with three or four paper towels. Once your chicken has had time to set, pour about an inch of oil in a cast iron skillet and heat it to about 350 to 375 degrees F.
Step 5: Start frying
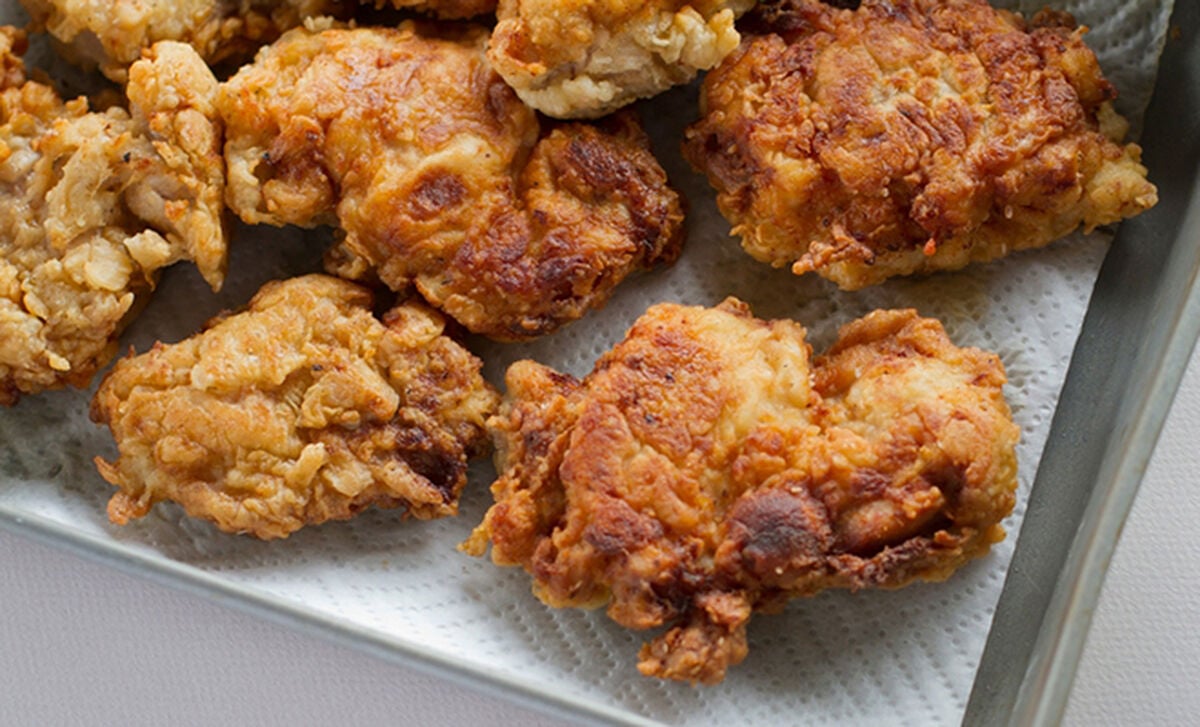
Use your tongs to place the chicken four or five pieces at a time in the oil (if you add too much chicken at once the temperature of the oil will get too low and the chicken will not cook correctly). Let the chicken cook for ten to twelve minutes until the outside is golden brown, then remove it from the oil and place it on your plate using paper towels to absorb the extra oil.
Step 6: Let the chicken cool and enjoy
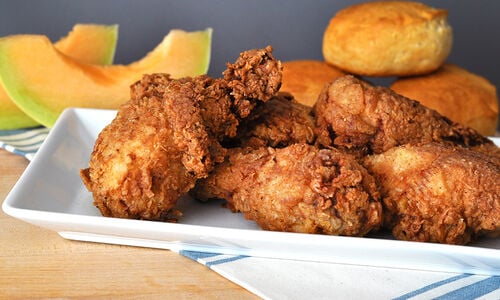
Fried chicken is one of America’s favorite comfort foods. By making it at home and using only the finest ingredients, like D’Artagnan’s certified organic, free-range chicken, you and your family can enjoy a tender and delicious guilt-free meal.
Related Products

Price
$41.99
- Humanely-raised
- USDA-certified free-range organic chicken
- 100% non-GMO, organic feed of corn and soy
- No antibiotics or hormones
- No animal by-products
- No arsenicals
- Raised to 8 weeks
- Air-chilled for no retained water
- Farm-to-table audit trail
- Sold in an uncooked state
- Product of USA
- For best taste on fresh products, use or freeze within 3-5 days of receipt; for frozen products, use within 1-2 days after thawing
- Subscription Eligible


Starting at
$54.99
- Californian and New Zealand White rabbits
- Humanely raised
- No antibiotics, no hormones, ever
- No preservatives or additives
- Low in calories and cholesterol
- High in protein and nutrition (USDA states it is the most nutritious meat)
- Sold in an uncooked state
- Includes the kidneys, heart, and liver
- Rabbit fryer serves 2-3
- Product of USA
- For best taste on fresh products, use or freeze within 3-5 days of receipt; for frozen products, use within 1-2 days after thawing
- Subscription Eligible


Starting at
$19.99
- All natural
- No added preservatives or artificial ingredients
- Low in saturated fat
- Gluten-free
- Ships frozen (best kept frozen)
- For best taste, use within 6 months of receipt and/or by the expiration date on the package
- Subscription Eligible