Braising Basics & Tips
Braising is comfort cooking at its finest, and it's so easy to do. Braising is perfect for entertaining, as most of the hands-on work is done before the dish even goes into the oven, leaving ample time to spend with guests. The bonus: as the braise cooks, it warms your home with an enticing, rich perfume. A larger batch is no more work, and leaves enough for leftovers. Ready to braise?
Read on for our braising basics tips.
Types of Braising - The Long & Short of It
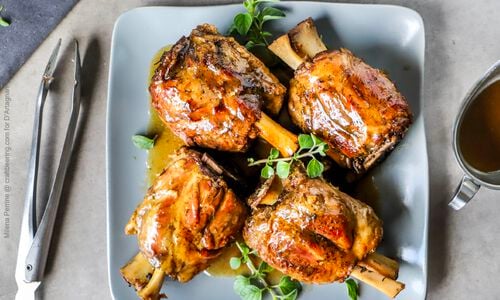
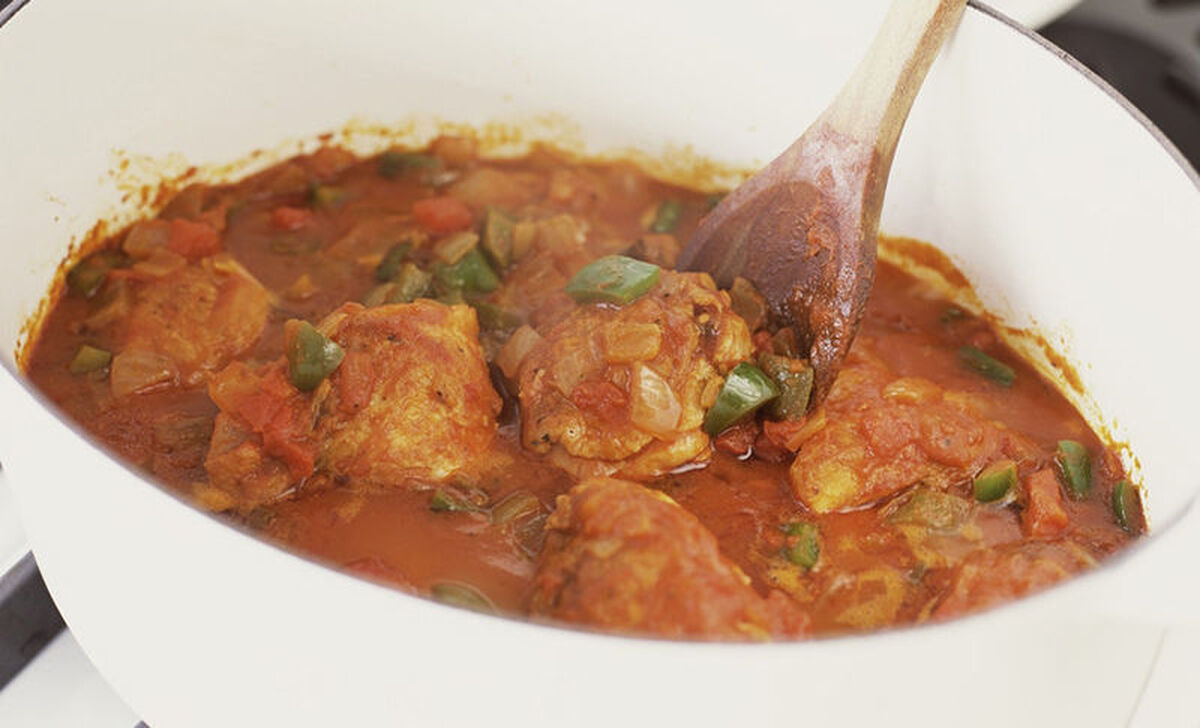
There are two basic types of braising: short and long. Short braising, or cuisson à l'étuvée in French, is great for vegetables, small birds and lean, tender poultry such as chicken or rabbit. In this fast process, you quickly brown the ingredients in fat, then add a flavorful liquid and barely simmer until just cooked through. The entire process is finished in less than an hour.
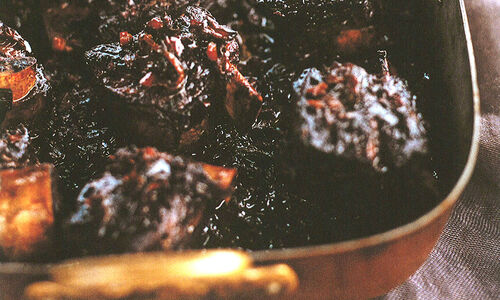
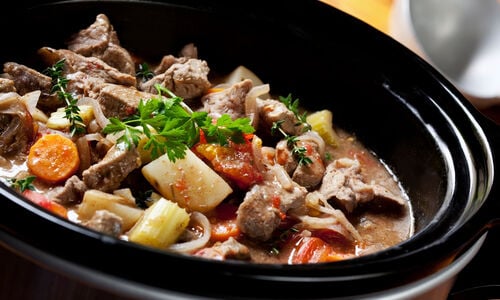
Long braising, or braisage, uses similar techniques but achieves something different entirely. Tough cuts of meat such as short ribs, shoulders, shanks and briskets are browned in fat, then liquid and aromatics are added and the dish is cooked at very low temperature, just below a simmer, for a long period of time. Cooking meat slow and low breaks down the sinewy connective tissue, first into collagen, then melting into gelatin. The cooking liquid reduces to become the accompanying rich and complex sauce.
Equipment – One-Pot Cooking
There is really only one piece of equipment needed for braising - the vessel. For basic braising, we recommend a simple Dutch oven made from enameled cast iron, as it conducts and holds heat evenly. It can be used to both brown the meat stovetop, and then finish braising in the oven for true one-pot cooking.
- You should always use a high-quality, non-reactive, heavy pot with a tight-fitting lid.
- Your pot should be deep enough to hold all of your ingredients while allowing about two inches of space at the top for evaporation and condensation, or self-basting.
- If in doubt, always go up a size. Some specialty pots have features that enhance this moisture up/moisture down process, like a cocotte which has small spikes on the underside of the lid allowing for continuous self-basting, or a doufeu, a pot with a recessed lid to which you add ice to speed up condensation. These features are nice but often come with a hefty price tag.
Browning the Meat
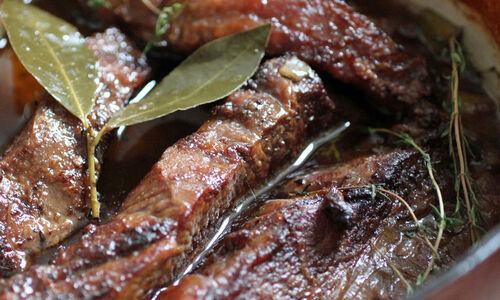
Every braising recipes starts with browning the meat. Is it really necessary? It absolutely is. When browning meat for braising, there are a few things to keep in mind.
- Never skip this step as browning the meat is an essential part of the braising process, and your dish will lack flavor without it.
- Lean or tender cuts should be patted dry for a more intense browning effect.
- Fatty cuts should be dusted with flour pre-searing to develop a nice crust that will help to hold juices in.
- Heat your oil (duck fat works beautifully!)over high flame until quite hot, then add your meat.
- Get the meat evenly brown and crusty on all sides. Be mindful not to crowd the pan, working in batches if necessary.
Get Saucy – Tips on the Sauce
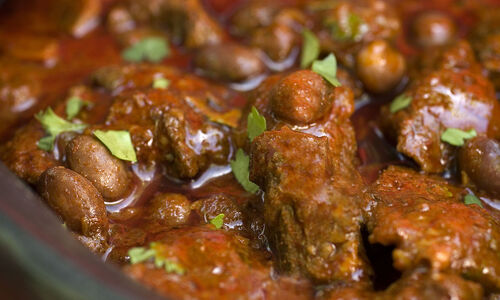
The fork-tender meat may get top billing in braised dishes but the rich, luscious sauce is just as important. This long, gentle method of cooking does most of the sauce work for you. There are some subtle tweaks you can make at the end of cooking to adjust the final product and really make your dish shine.
- If your sauce is thin, move some of the liquid to a small saucepan and reduce over medium-high heat. When thickened, add back into the pot.
- If your sauce is too thick, add some hot broth or wine and simmer.
- If you were over-generous with your seasoning, add a peeled potato or two during cooking. The starch will absorb a bit of the salt. Discard them before serving.
- Not enough flavor? Add freshly chopped herbs, citrus zest or spices at the very end of cooking and offer a bit at the table for garnish.
- Not enough body? At the end of cooking, shave in a small amount of bitter chocolate! It's a professional kitchen secret that few chefs will reveal. A light hand will yield spectacular results.
- If your dish is too fatty, simply chill the whole pot in the refrigerator overnight. The fat will rise to the top and solidify, making it easy to discard. The extra time allows the flavors to marry and concentrate. If you're short on time, you can also let it rest for a half hour then skim the top with a shallow spoon.
After the Cooking
- When reheating, remove the meat from the thickened sauce and bring it to a low boil then toss the meat back in just to heat through.
- Braised dishes freeze beautifully – make a big pot, freeze individual portions in airtight containers and enjoy on a cold, rainy day.
- Braised meats also make fantastic leftovers. Try adding to tacos or burritos, shepherd's pie, pasta, sandwiches or salads.


")
")


, Boneless")
, Boneless")