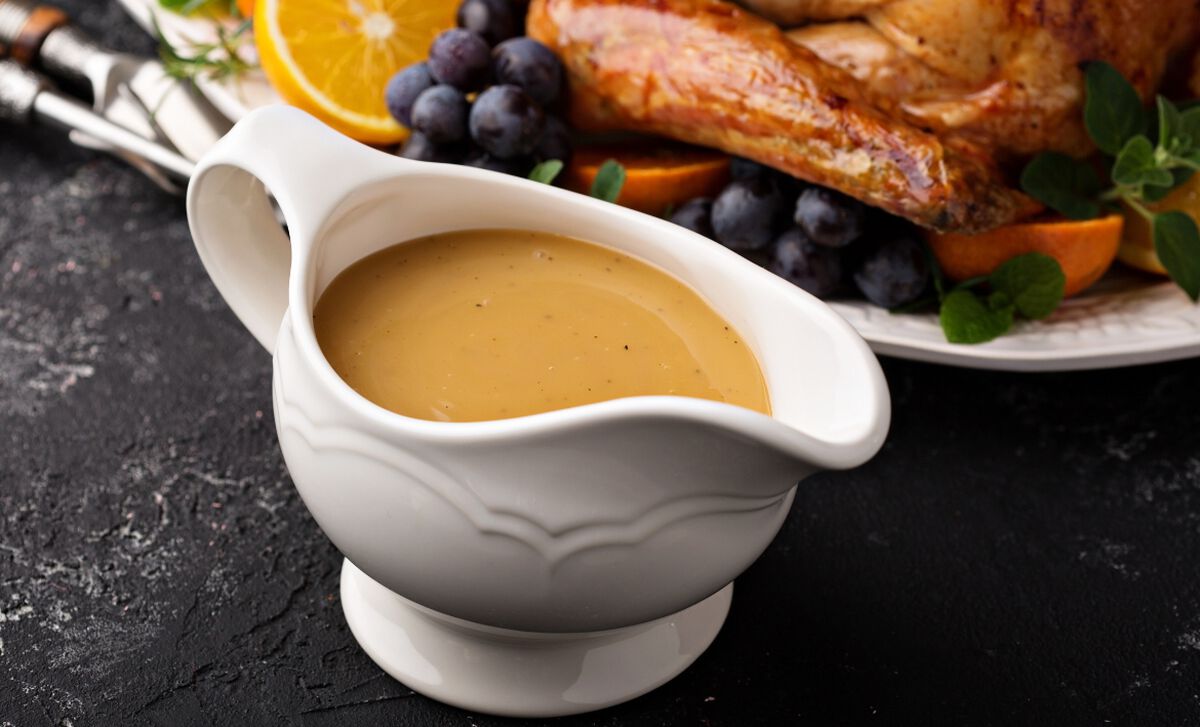
The Mother Sauce
Although deceivingly simple, pan gravies or sauces are rather sophisticated cuisine. In fact, in French cooking, they are highly regarded as mother sauces. You will know a good one when you taste it because it is pure ambrosia, smooth, and delicious enough to eat all by itself. It may surprise you to find how easy they are to make.
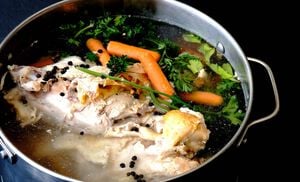
You start by making two different types of fonds – or bases. The first fond is your stock, which will be the hearty liquid foundation for your gravy. The second is a deglazing sauce made of pan drippings, used to enrich the flavor of the gravy. You make this intensely flavorful deglazing sauce as you make gravy directly in the roasting pan, or by deglazing the roasting pan and reducing the resulting liquid and tasty bits in a separate saucepan. Once you make the stock and deglazing sauce, you are done with most of the heavy lifting. Use these links to our other holiday articles for a good, basic deglazing sauce and simple brown turkey stock.
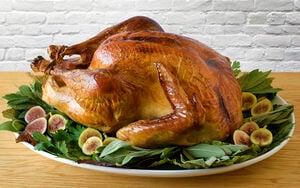
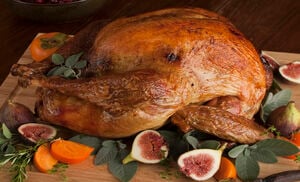
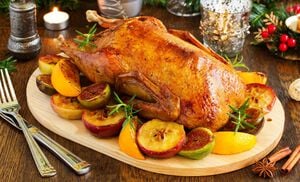
Roasted Holiday Turkey Cooking Guide
How to Make Chicken & Poultry Stock
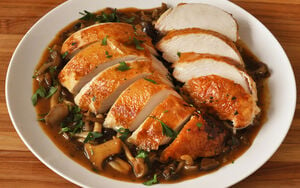
Creamy Brown Goodness
To make rich, brown pan gravy, you will make a brown roux. Start by heating about 1/4 cup of clear turkey roasting fat, or the same amount of duck fat, in a large, heavy saucepan or large, deep skillet over medium heat. Once it is heated, add about 1/4 cup of flour distributing evenly over the fat, and stir with a wooden spoon until blended and smooth. You will continue to cook, stirring well and steadily for several minutes, as it bubbles and thickens, and begins to brown slowly. Continue until it reaches a beautiful, toasty walnut color. This is a brown roux. Lift the pan from the heat, and stir until it stops bubbling.
Return the pan to the heat and gradually add about 3 cups of hot, brown turkey stock, while whisking vigorously the whole time to blend and smooth it as it thickens between the stock additions. This is your gravy base.
Adjust the heat until this sauce is simmering. Now simmer for several minutes, giving it a good, thorough stirring every other minute or so. If it starts to bubble too hard, adjust your heat down until it is simmering again to prevent scorching.
You are almost finished. It’s time to add the deglazing sauce to the cooking gravy base. Once added, stir the gravy to blend in the sauce, and simmer for several more minutes. This simmering cooks off any residual alcohol from the deglazing sauce if applicable, and reduces the gravy, which also concentrates the flavors. Skim off any fat that rises. Continue to let this simmer until it is about the consistency that you want. If it starts to bubble too hard in the meantime, again reduce the heat to return to a simmer.
Now is the time to taste your gravy, and carefully make any light-handed flavor corrections. Once you have finished any necessary seasoning, this wonderfully rich and delicious pan gravy is ready to serve.
QUICK TIPS
- The only way to make good thick gravy is to cook it longer to reduce and thicken the liquid.
- If you are making a considerable amount of gravy using flour, allow extra time to cook your gravy longer to overcome the ‘raw’ flour taste.
- Always taste your gravy while you are making it, and before adding any seasoning.
- Keep a couple of quarts of good quality, sodium-free chicken stock on hand for extra or emergency gravy.
- To give your gravy a slightly creamier mouthfeel, completely stir in a few tablespoons of butter just before serving. Make it even better with a knob of black truffle butter.
- If you want super, creamy gravy, gradually whisk in a generous 1/2 cup of heavy cream about 10 minutes or so before serving. Adjust to a simmer, and reduce and rethicken the gravy to the desired consistency.
QUICK FIXES
- If your gravy is too salty, you can add sodium-free chicken stock to dilute the saltiness to some degree, then continue cooking the gravy until it reduces and thickens to the proper consistency. Once it has reduced, taste it again, in case you need to adjust again for saltiness, or other flavors due to diluting the gravy.
- If your gravy is lumpy, you can mash the lumps between the back of a wooden spoon and the side of the pan, and continue to stir or whisk them in until smooth. Doing this by hand is best. Pan mixer/blenders may get rid of the lumps but will change the consistency of your gravy.
- You can also strain the gravy through a sieve or fine strainer to eliminate lumps. It will take a few minutes but will catch the majority of them. Depending on how lumpy the gravy is, be prepared to have to add stock and cook to reduce and thicken, to make up for lost volume.
- If sidetracked, and your gravy gets too thick, add stock to thin, and continue cooking until you reach the desired consistency. Taste again, and carefully make any flavor corrections.
Related Products


Starting at
$25.99
- Certified humane by Humane Farm Animal Care
- Recognized by ASPCA and included in their “Shop With Your Heart” list for meaningful animal welfare standards
- Heritage-breed chicken
- Raised free-range
- Surplus vegetable and wholesome grain feed, including corn and soy
- No antibiotics or hormones
- No animal by-products
- Raised to 85 days – twice the time of average chicken
- Air-chilled for no retained water & maximum flavor
- Farm-to-table audit trail
- Sold in an uncooked state
- You may find a few dark pinfeathers
- 6 chickens in a bulk pack
- Product of USA
- For best taste on fresh products, use or freeze within 3-5 days of receipt; for frozen products, use within 1-2 days after thawing
- Subscription Eligible


Starting at
$10.99
- 100% natural
- Bones from humanely-raised ducks and veal calves
- Slow-cooked in small batches for quality
- Rich, concentrated flavor
- Silken texture
- Freezes beautifully
- Gluten-free
- Contains alcohol
- Product of USA
- For best taste, use within 1 month of receipt and/or by the expiration date on the package
- Subscription Eligible