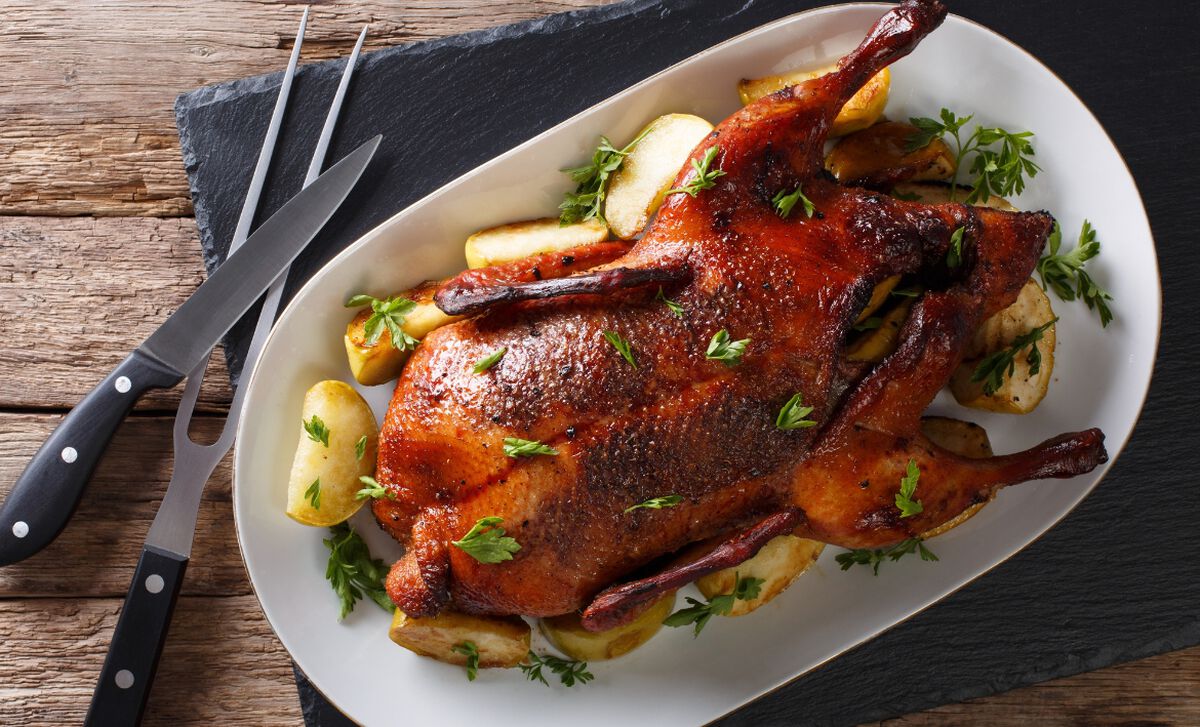
Step 1: Let it rest
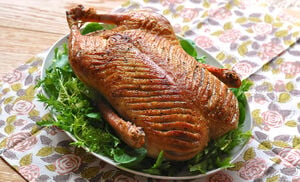
Once your duck is done cooking, place it breast facing downwards on a large cutting board, cover it in tin foil and let it sit for fifteen minutes. If you cut the duck right after removing it from the oven, the juices will seep out all over your cutting board, you’ll probably burn yourself and the duck will be dry. By letting the duck sit, its juices will have time to circulate, leading to more tender cuts of meat. While the duck is sitting, gather your carving materials. You will need a large carving knife and a meat fork.
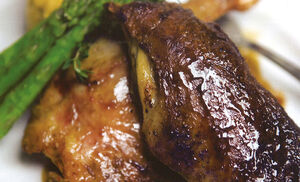
Step 2: Remove the legs
Because of their high fat and bone content, the legs of the duck will stay hot longest, so it makes sense to carve them first. Use a sharp knife to cut between the leg and the breast. Pick the duck up so you can slice underneath and use your fingers to snap the leg joint.
Step 3: Remove the breast
Place the duck on its back, breast facing forward and cut on one side of the breast bone from front to back then alongside the wishbone, leaving as little room as possible between the carcass and the meat. Remove the breast completely then repeat on the other side.
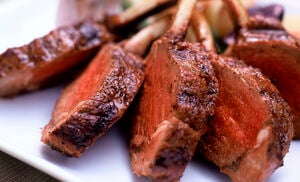
Step 4: Cut the breast
Use your knife to cut the breast in halves or thirds and arrange next to the legs on a serving platter.
Step 5: Serve and enjoy
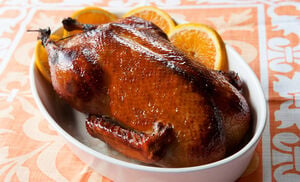
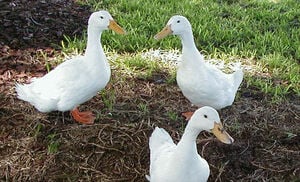
All of D’Artagnan’s whole ducks are all natural and have been raised from birth without the use of antibiotics or growth hormones. Each duck feeds approximately four people and is the perfect meal to impress family and friends.
Related Products

Starting at
$49.99
- D’Artagnan exclusive
- Unique heritage crossbreed
- Raised to D'Artagnan's exacting standards
- Lean with less fat than a Pekin duck
- Vegetarian diet includes corn and soy
- No antibiotics, no hormones - ever
- Cage-free
- Air-chilled; no added water
- Sold in an uncooked state
- Sold in two sizes: 5-5½ lbs and 5½-6 lbs
- Neck and giblets included
- Product of USA
- For best taste on fresh products, use or freeze within 3-5 days of receipt; for frozen products, use within 1-2 days after thawing
- Subscription Eligible
NOTE: It is normal to find some pin feathers or feather shafts on whole ducks. They are easily removed with needle nose pliers, tweezers, or simply your fingers.

Price
$74.99
- Raised humanely in open barns
- No antibiotics or hormones from birth
- Corn, soy, wheat and alfalfa diet
- Serves 2 people
- Does not contain giblets
- Sold in an uncooked state
- Product of USA
- For best taste on fresh products, use or freeze within 3-5 days of receipt; for frozen products, use within 1-2 days after thawing
- Subscription Eligible

Starting at
$45.99
- Humanely-raised Pekin ducks
- Delicately-flavored meat
- Pure vegetarian diet
- No antibiotics, no hormones
- Sold in an uncooked state
- Giblets included
- Serves two
- Product of USA
- For best taste on fresh products, use or freeze within 3-5 days of receipt; for frozen products, use within 1-2 days after thawing
- Subscription Eligible